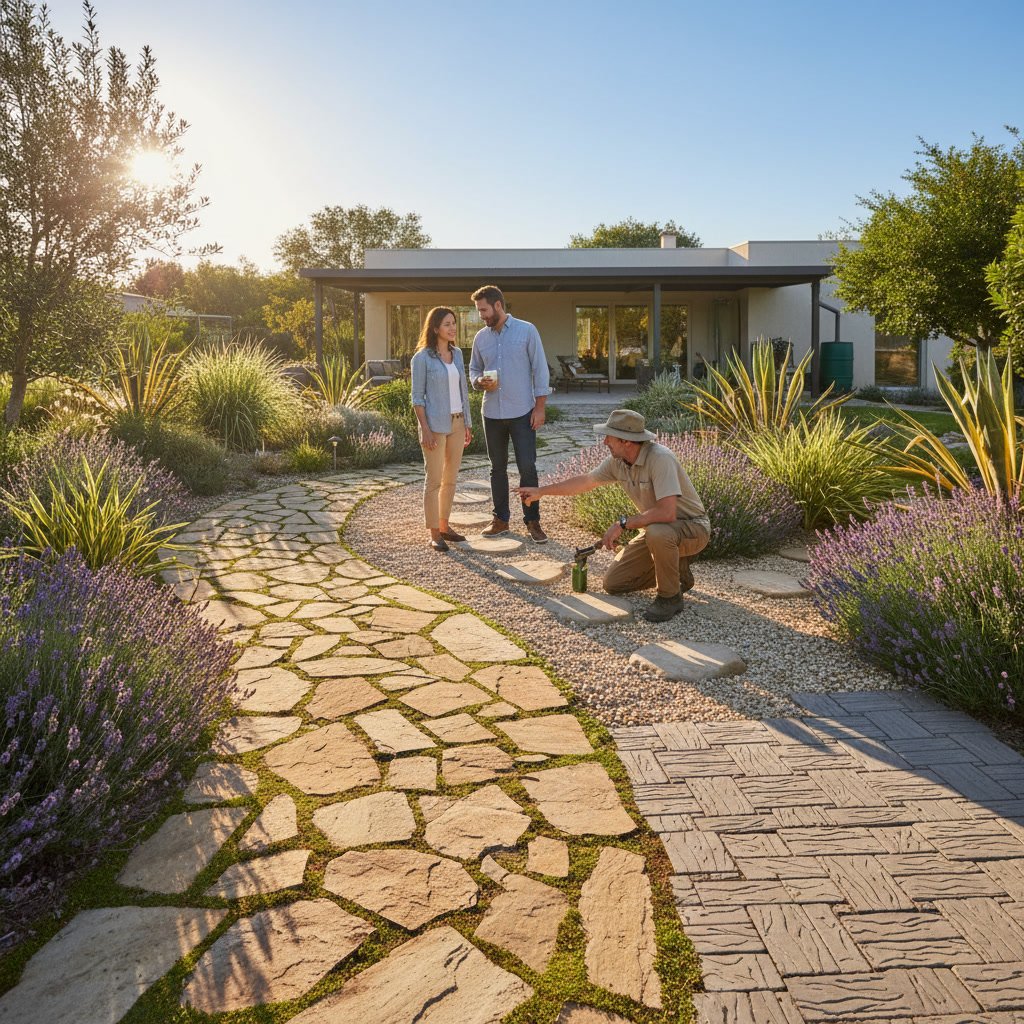
Landscape edging creates clean borders between lawn and garden beds while reducing maintenance and preventing soil erosion. Many homeowners can install simple plastic or metal edging with basic tools, but projects involving concrete, drainage considerations, or sloped terrain typically require professional expertise to ensure longevity and proper function. Understanding the difference between beginner-friendly projects and those requiring specialized skills helps you make smart decisions about your outdoor space.
The appeal of DIY landscape edging comes from lower upfront costs and the satisfaction of completing a project yourself. However, certain installations demand precision, specialized equipment, and knowledge of soil conditions that only experienced contractors possess. Choosing the wrong approach can lead to wasted materials, repeated attempts, and ultimately higher costs than hiring professionals from the start.
Why Landscape Edging Matters for Your Property
Edging serves multiple practical purposes beyond visual appeal. It prevents grass from creeping into flower beds, reduces the need for constant trimming along borders, and helps retain mulch or decorative rock within designated areas. Properly installed edging also directs water flow away from foundations and prevents soil erosion on sloped properties.
Without effective edging, garden beds lose their shape over time as mulch spreads onto lawns and grass invades planting areas. This creates more maintenance work and diminishes the clean, intentional look most homeowners want. The right edging material and installation method can last 10 to 20 years with minimal upkeep.
Materials You Can Install Without Professional Help
Plastic and vinyl edging kits sold at home improvement stores are designed for homeowner installation. These products typically include interlocking sections that stake into the ground along marked border lines. The primary tools needed are a flat shovel, rubber mallet, utility knife, and measuring tape. Installation involves digging a narrow trench, placing the edging at the correct depth, and securing it with stakes.
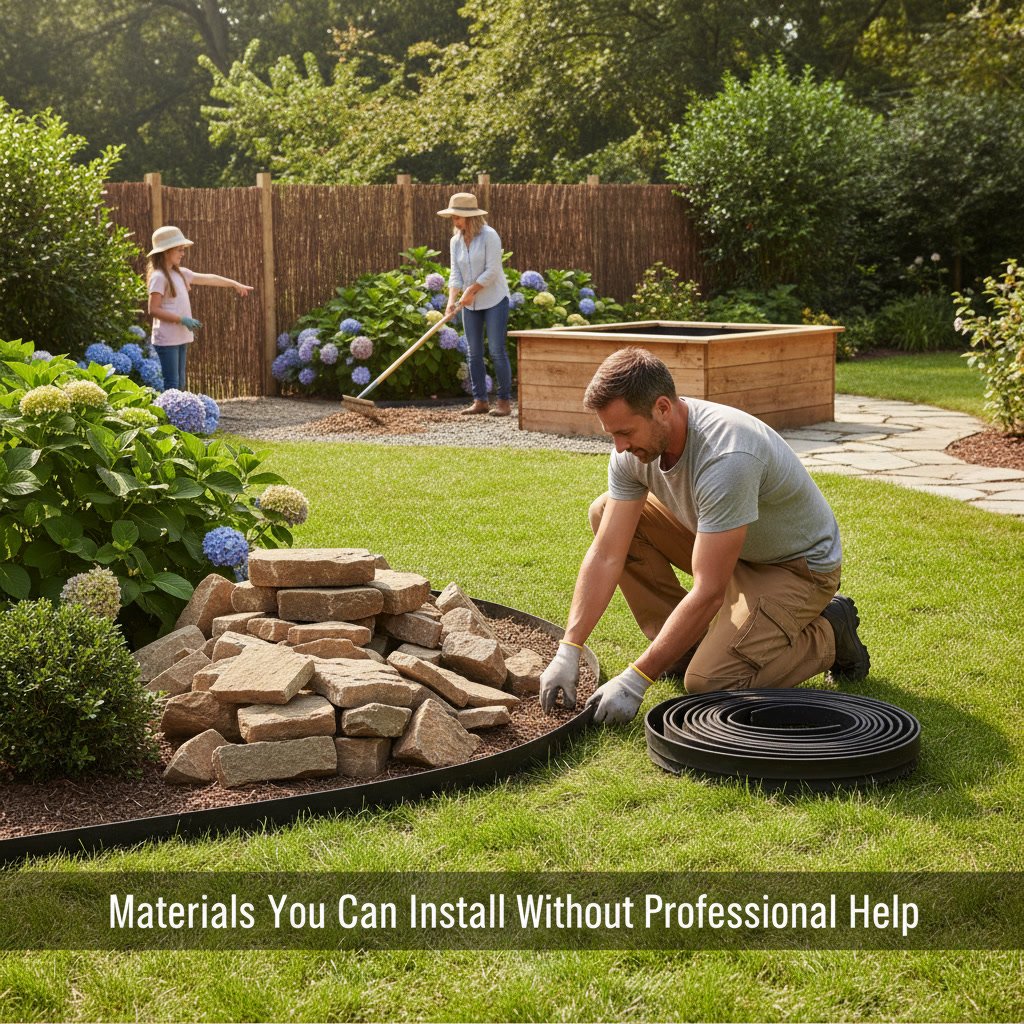
Metal landscape edging, including steel and aluminum options, offers more durability than plastic while remaining accessible for DIY installation. These materials resist warping and provide cleaner lines, though they require more effort to cut and shape around curves. Most metal edging uses a similar stake system and benefits from a rubber mallet to ensure sections sit flush with the ground.
Natural stone edging placed along borders without mortar can work for straight or gently curved beds. This method involves setting stones in a shallow trench and packing soil around them for stability. The main challenge is selecting stones of consistent height and ensuring they remain level across the entire border.
Skills and Tools Required for Basic Edging Projects in Shingle Springs
Successful DIY landscape edging in Shingle Springs requires understanding local soil conditions, which often include clay-heavy areas that become extremely hard in summer and sticky in winter. Digging uniform trenches in these conditions demands patience and the right timing. Working after light rain softens soil without creating muddy conditions.
Beyond basic hand tools, homeowners need the ability to create level borders across uneven terrain. A four-foot level helps maintain consistent height, while string lines stretched between stakes guide straight sections. Curved borders require frequent measurement checks to maintain smooth arcs rather than awkward angles.
Physical stamina matters more than most homeowners anticipate. Digging a trench for 50 linear feet of edging means removing several wheelbarrow loads of soil and maintaining a consistent depth of four to six inches. Projects exceeding 100 linear feet often take multiple days for one person working alone.
When Slope and Drainage Make Professional Help Necessary
Properties with significant grade changes require edging that accounts for water flow patterns. Installing borders without considering drainage can create pooling areas or redirect runoff toward foundations. Professionals assess the entire yard’s topography and position edging to work with natural drainage rather than against it.
Sloped terrain also demands edging that steps down gradually rather than following the exact ground contour, which can look awkward and fail to contain mulch effectively. Calculating proper step heights and spacing requires experience that most homeowners lack. Professional landscaping services include site evaluation to identify these challenges before installation begins.
Homes built on hillsides or properties with retaining walls need edging integrated with existing erosion control features. Disturbing soil near retaining walls without proper knowledge can compromise their stability. This is why projects involving complex grading should include experts who understand how all elements work together.
Concrete Edging Projects That Exceed DIY Capabilities
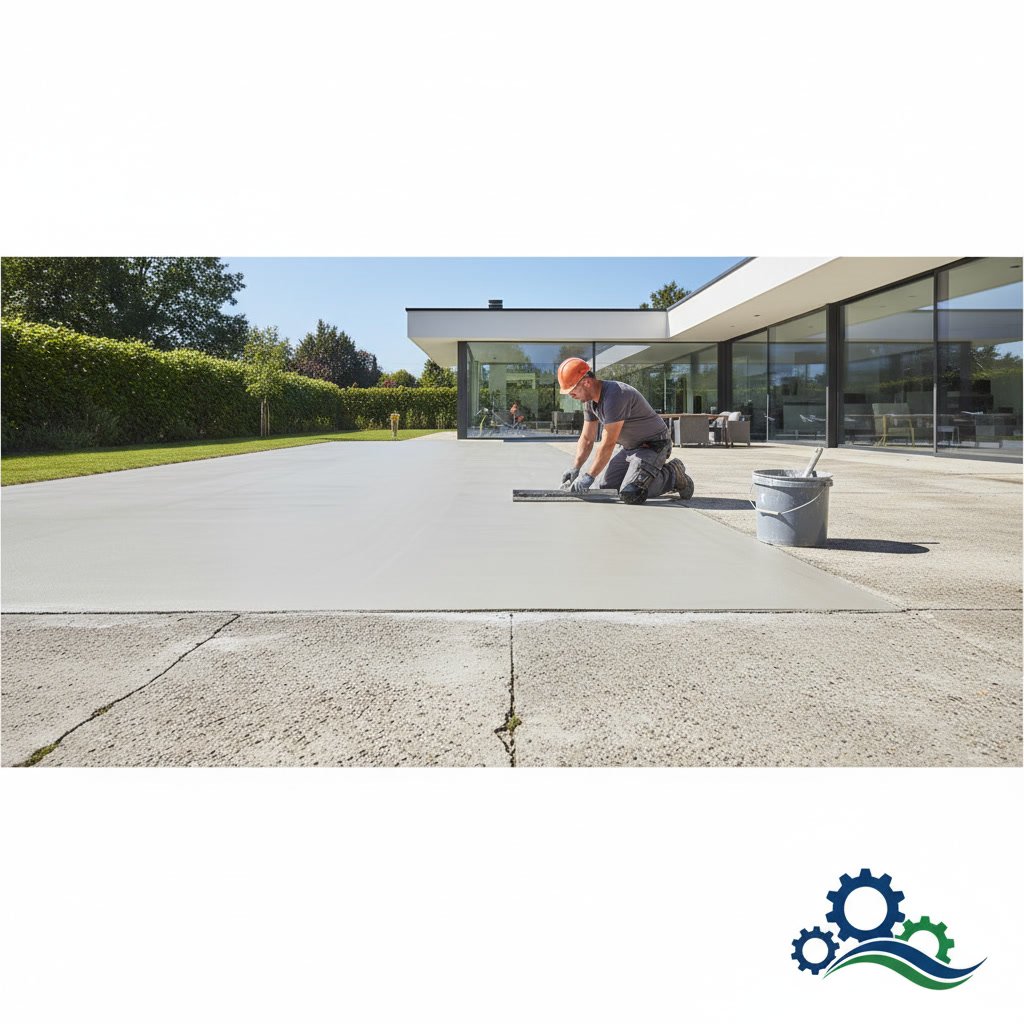
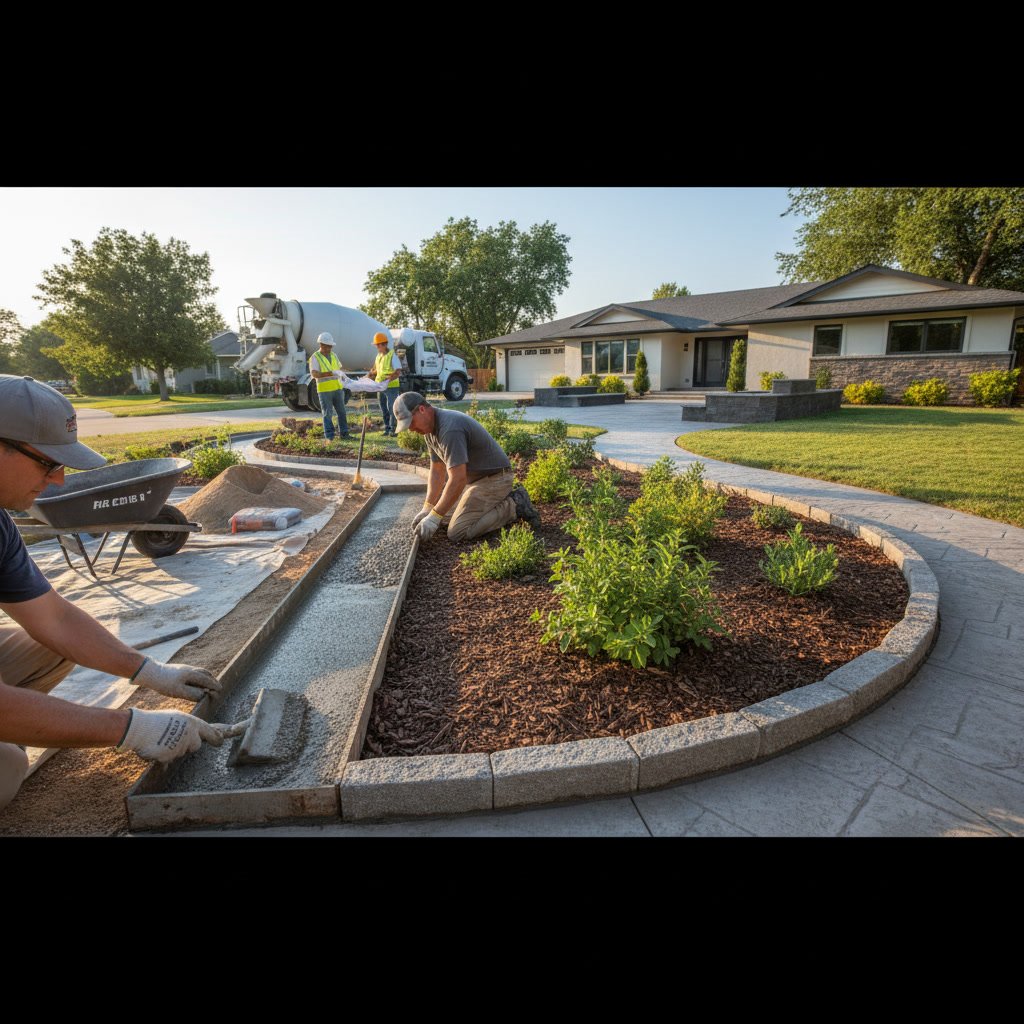
Poured concrete edging creates permanent, highly durable borders that resist shifting and require no ongoing adjustments. However, achieving professional results demands experience with concrete mixing ratios, proper curing techniques, and finishing methods. Forms must be built precisely to create uniform height and width, then removed at the correct time to prevent damage.
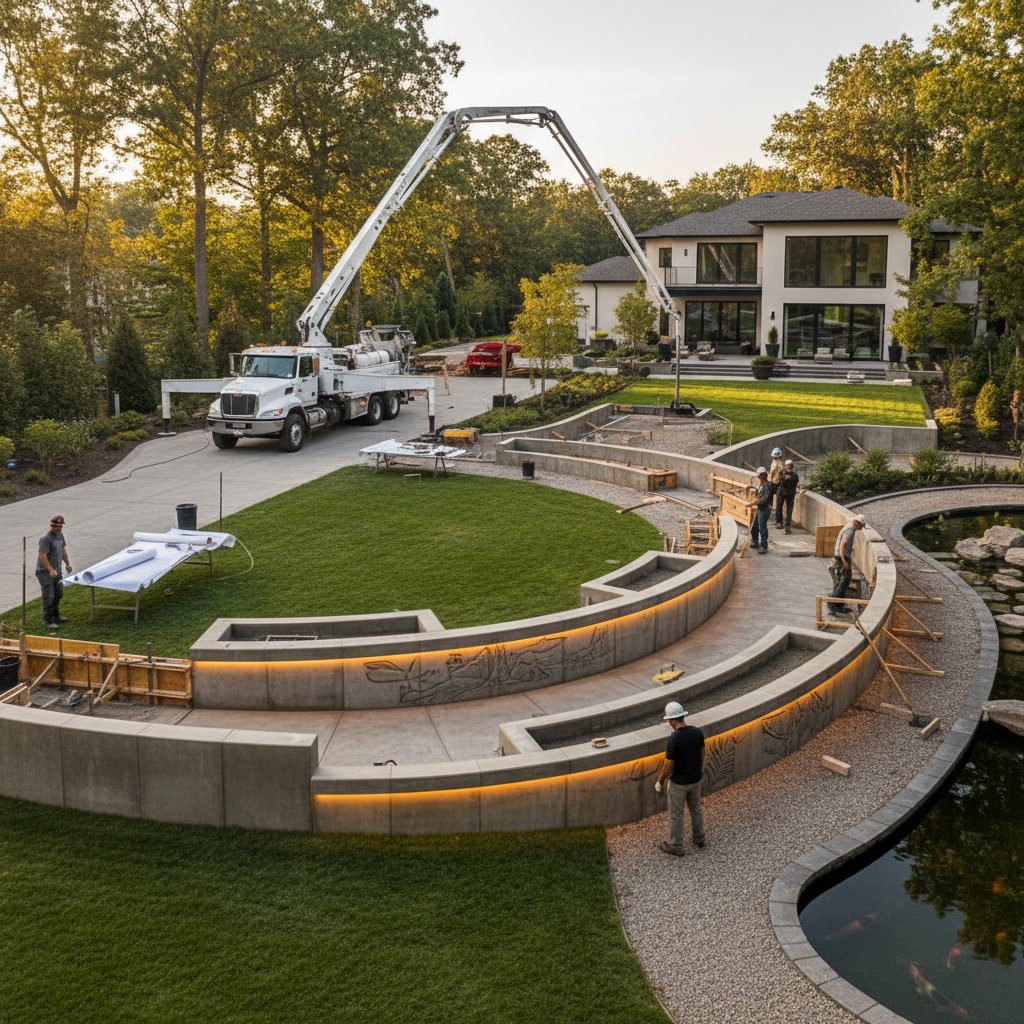
Temperature and humidity affect concrete curing significantly. Pour timing matters, especially during hot summer months when rapid drying can cause cracking. Professionals monitor weather conditions and adjust water content accordingly. They also know when to apply curing compounds and how long to keep concrete moist for maximum strength.
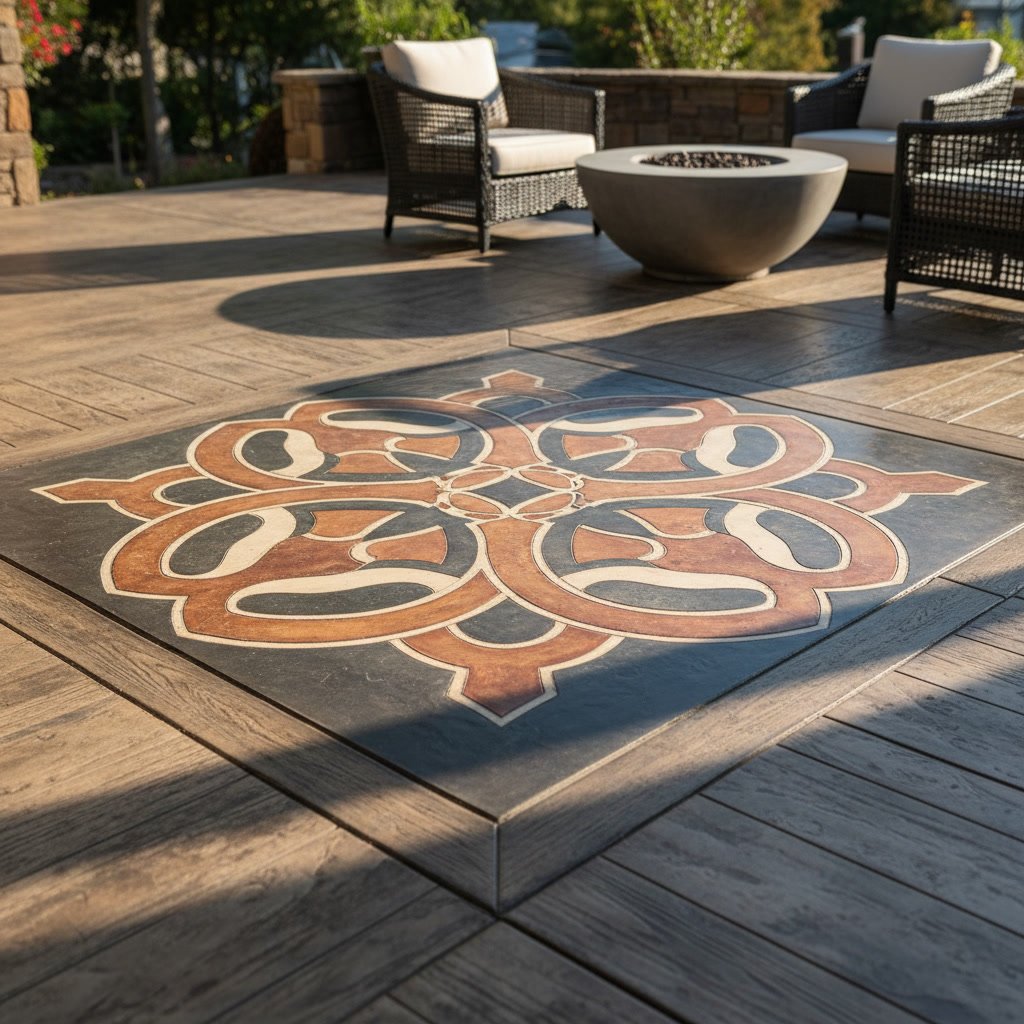
Concrete work specialists can integrate decorative elements like stamped patterns or color that match existing hardscaping. They coordinate edging with driveways, walkways, and patios to create cohesive outdoor designs. Attempting these techniques without training typically produces inconsistent results that detract from property value rather than enhancing it.
The Hidden Costs of DIY Mistakes
Buying materials without accurate measurements leads to multiple store trips and wasted product. Edging that sits too high creates mowing obstacles, while borders set too deep fail to contain mulch. Correcting these errors means removing installed sections and starting over, doubling the time and material investment.
Improperly installed edging shifts within months, creating gaps where grass invades garden beds. Homeowners then face the choice of living with poor results or paying professionals to remove failed work before installing it correctly. The combined cost of initial materials and professional correction often exceeds what hiring experts would have cost initially.
Some mistakes cause damage beyond the edging itself. Hitting irrigation lines while digging trenches requires repair costs and potential water damage. Disrupting tree root zones with overly deep trenches can stress or kill valuable landscape plants. These consequences make knowing your limits essential.
Comparing Installation Methods for Common Border Types
Plastic edging works best for gentle curves and informal garden beds where slight flexibility over time is acceptable. Installation takes two to four hours for 50 linear feet and costs roughly $1 to $2 per foot in materials. The tradeoff is shorter lifespan, typically five to seven years before replacement becomes necessary.
Steel edging provides clean, modern lines and lasts 15 to 20 years with minimal maintenance. Material costs run $3 to $5 per foot, and installation difficulty increases due to the need for metal-cutting tools and greater precision in joining sections. This option suits contemporary landscapes with geometric bed shapes.
Poured concrete edging delivers the longest lifespan at 20-plus years and allows for custom heights, widths, and decorative finishes. Professional installation costs $8 to $15 per foot but eliminates future replacement expenses. This method makes economic sense for large properties or homeowners planning to stay long-term.
Site Preparation Steps Professionals Never Skip
Experienced contractors call utility location services before any digging project, even for shallow edging trenches. Buried electric, gas, or communication lines can appear at unexpected depths. Striking these lines creates safety hazards and expensive emergency repairs that far exceed any project budget.
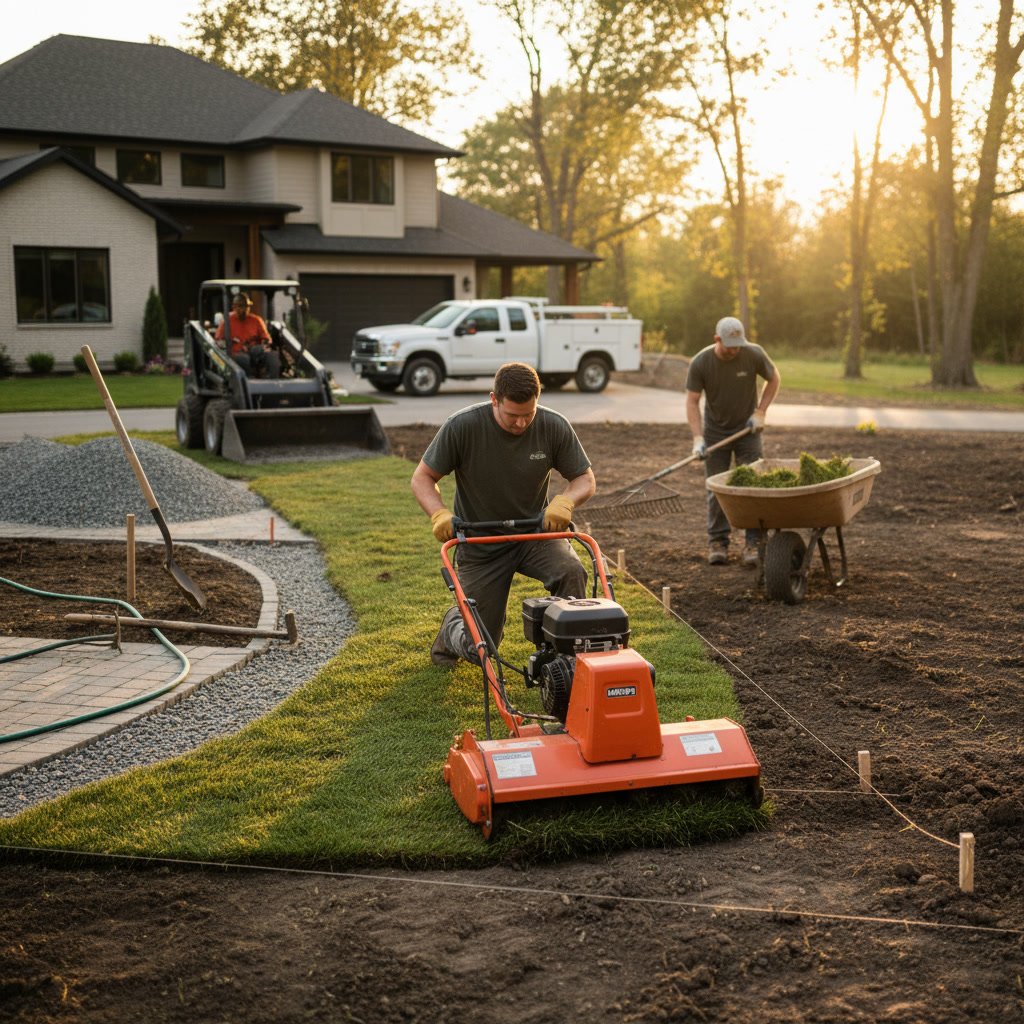
Professionals also test soil compaction along proposed edging lines. Loose or recently disturbed soil requires additional base preparation to prevent settling. They add compacted gravel bases in these areas to create stable foundations that keep edging level for years. Skipping this step is the primary reason DIY edging develops dips and high spots within the first year.
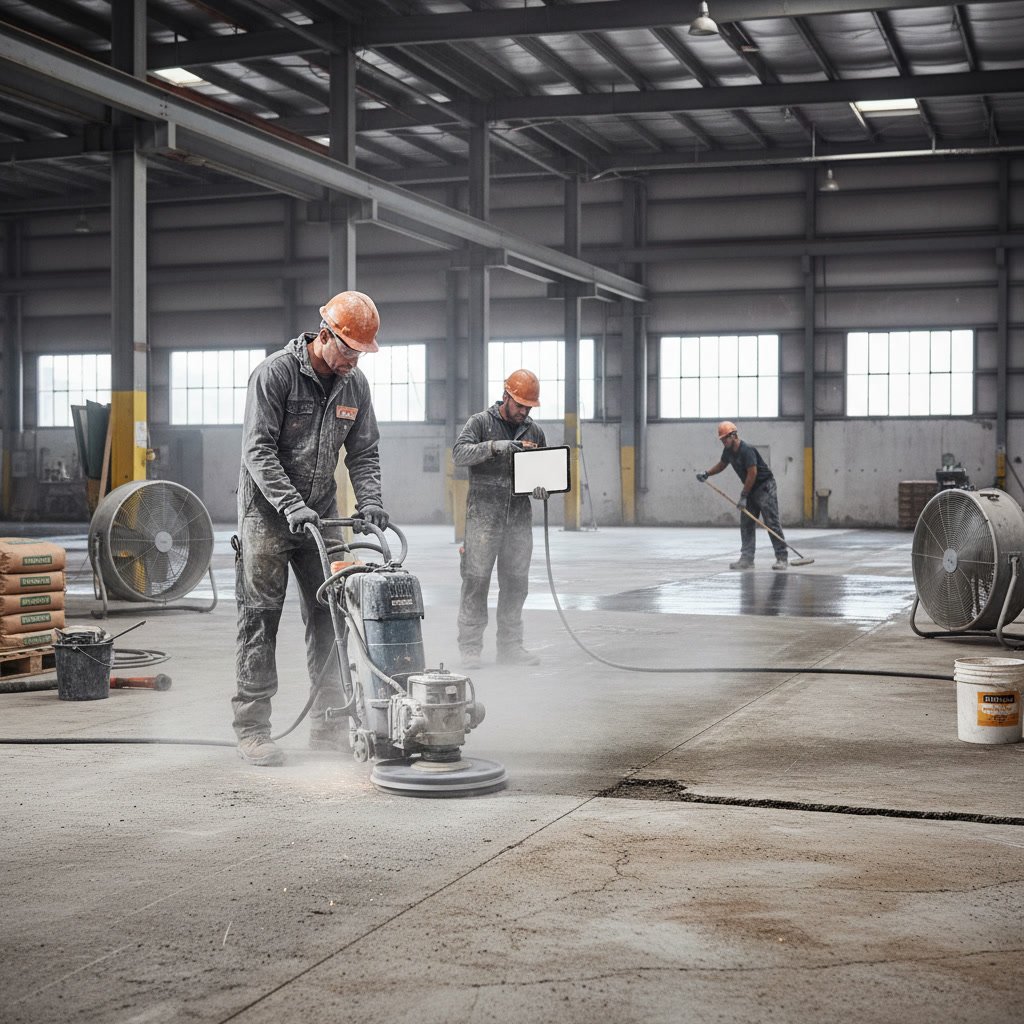
Proper site prep includes removing existing grass and roots from the installation area. Leaving organic material beneath edging allows decomposition that creates voids and instability. Contractors excavate cleanly and backfill with appropriate materials that support rather than undermine the border.
How Weather and Seasons Affect Installation Success
Spring and fall offer ideal conditions for edging installation in Northern California. Soil moisture levels make digging easier without the extreme hardness of summer or saturation of winter. Moderate temperatures also benefit concrete projects, allowing proper curing without the complications of heat or cold.
Summer installation in clay soils often requires pre-soaking the work area the night before to make digging feasible. Even with preparation, sun exposure can dry concrete too quickly, requiring frequent misting and extended curing periods. Professionals schedule these projects for early morning work before temperatures peak.
Winter projects face challenges from saturated soil that sticks to tools and makes trenching difficult. Freezing temperatures can damage fresh concrete or prevent proper adhesion of certain edging materials. Waiting for appropriate conditions produces better long-term results than rushing installation during unfavorable weather.
Maintenance Requirements for Different Edging Types
Plastic and vinyl edging require periodic inspection to reset sections pushed up by frost heave or settling. Most homeowners need to tap down a few sections each spring using a rubber mallet. Replacing damaged sections is straightforward but necessary every few years as UV exposure makes plastic brittle.
Metal edging develops sharp edges over time as protective coatings wear away. Annual inspection helps identify sections needing attention before they become safety hazards. Rust-resistant coatings or stainless steel options reduce this maintenance but increase initial costs.
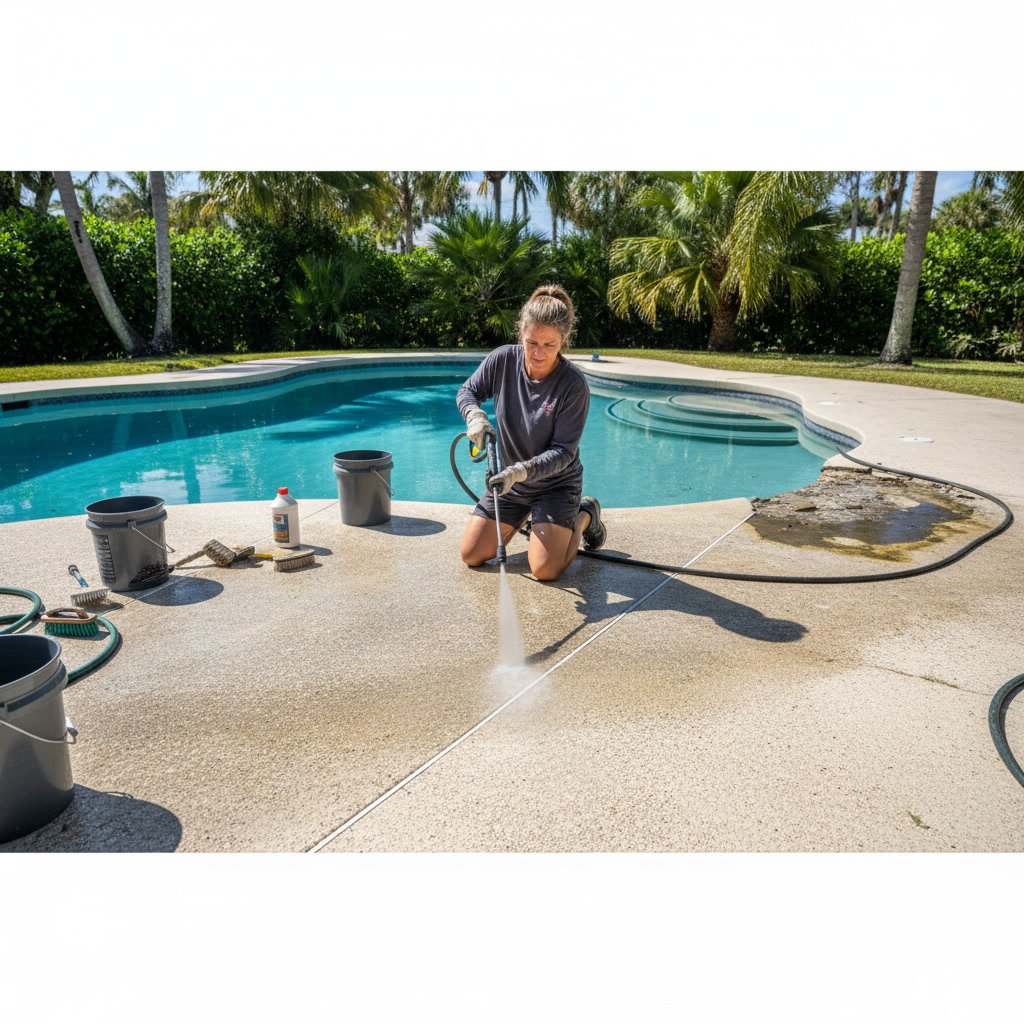
Concrete edging requires the least ongoing maintenance but benefits from occasional cleaning and sealing. Concrete staining services can refresh faded borders or change colors to match updated landscape designs. Small cracks should be sealed promptly to prevent expansion during freeze-thaw cycles.
Making the Right Choice for Your Property
Evaluate your project based on linear footage, terrain complexity, and desired longevity. Simple borders under 75 feet on flat ground with basic materials suit DIY approaches. Projects exceeding 150 feet, involving slopes greater than 5%, or requiring concrete should involve professional consultation at minimum.
Consider your available time realistically. What professionals complete in one day often takes homeowners an entire weekend or longer. If your schedule limits project time to a few hours weekly, installation may stretch across weeks, leaving your yard disrupted and materials exposed to weather damage.
Physical ability matters significantly for edging projects. The repetitive digging, bending, and lifting involved can aggravate back problems or joint issues. There is no shame in recognizing that professional installation makes sense for your situation, especially when it prevents injury or produces results you will enjoy for decades.
Building Borders That Last for Years
Successfully installed landscape edging transforms outdoor spaces by creating definition, reducing maintenance, and enhancing curb appeal. Simple projects using basic materials offer satisfying DIY opportunities for homeowners with time and appropriate terrain. Complex installations involving concrete, significant slopes, or integration with existing hardscaping benefit from professional expertise that ensures proper function and longevity.
Since 1990, STAMATELOS CONSTRUCTION has helped property owners throughout Cameron Park and surrounding areas make informed decisions about landscape improvements. Our team evaluates your specific site conditions, discusses options that fit your budget and goals, and delivers installations built to last. Whether you need guidance on a DIY project or prefer professional installation from start to finish, we provide the expertise your property deserves. Contact us at +19163055310 to discuss your landscape edging project and explore the best approach for your home.