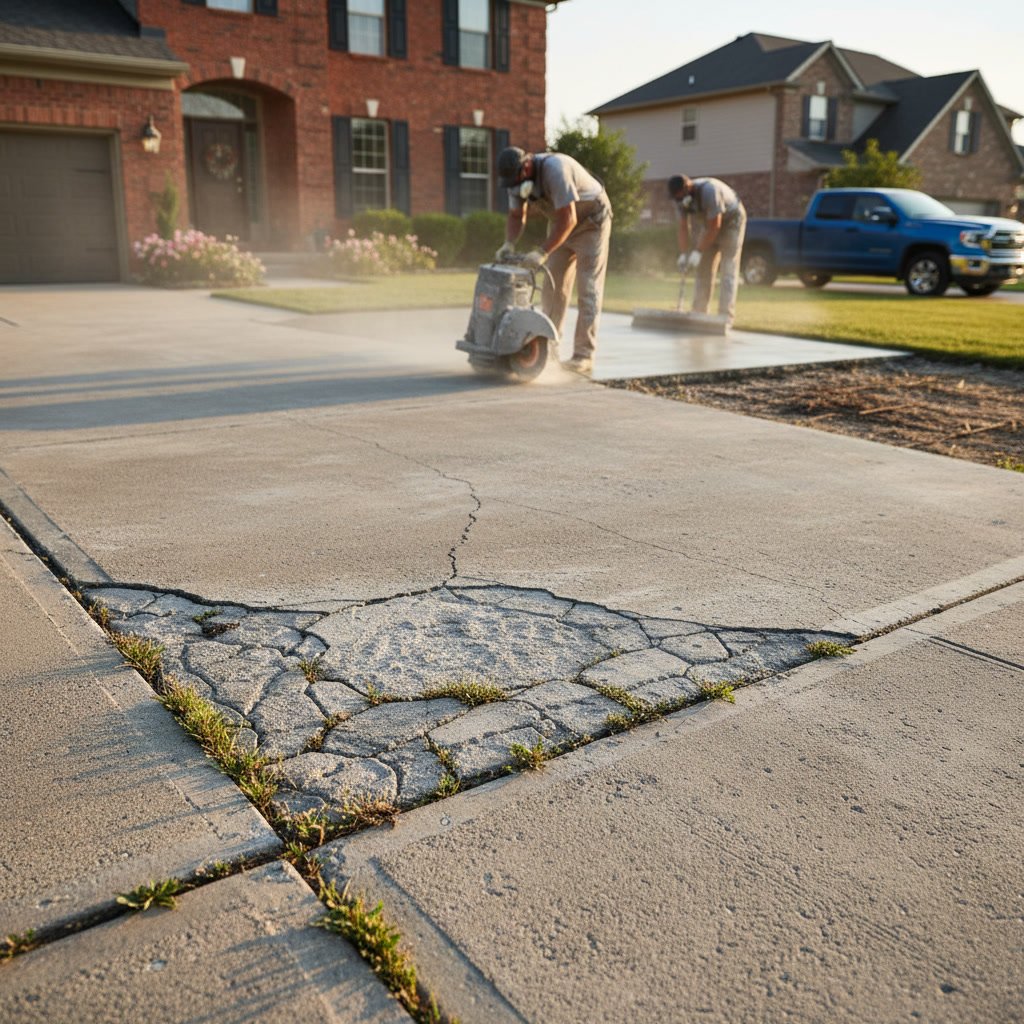
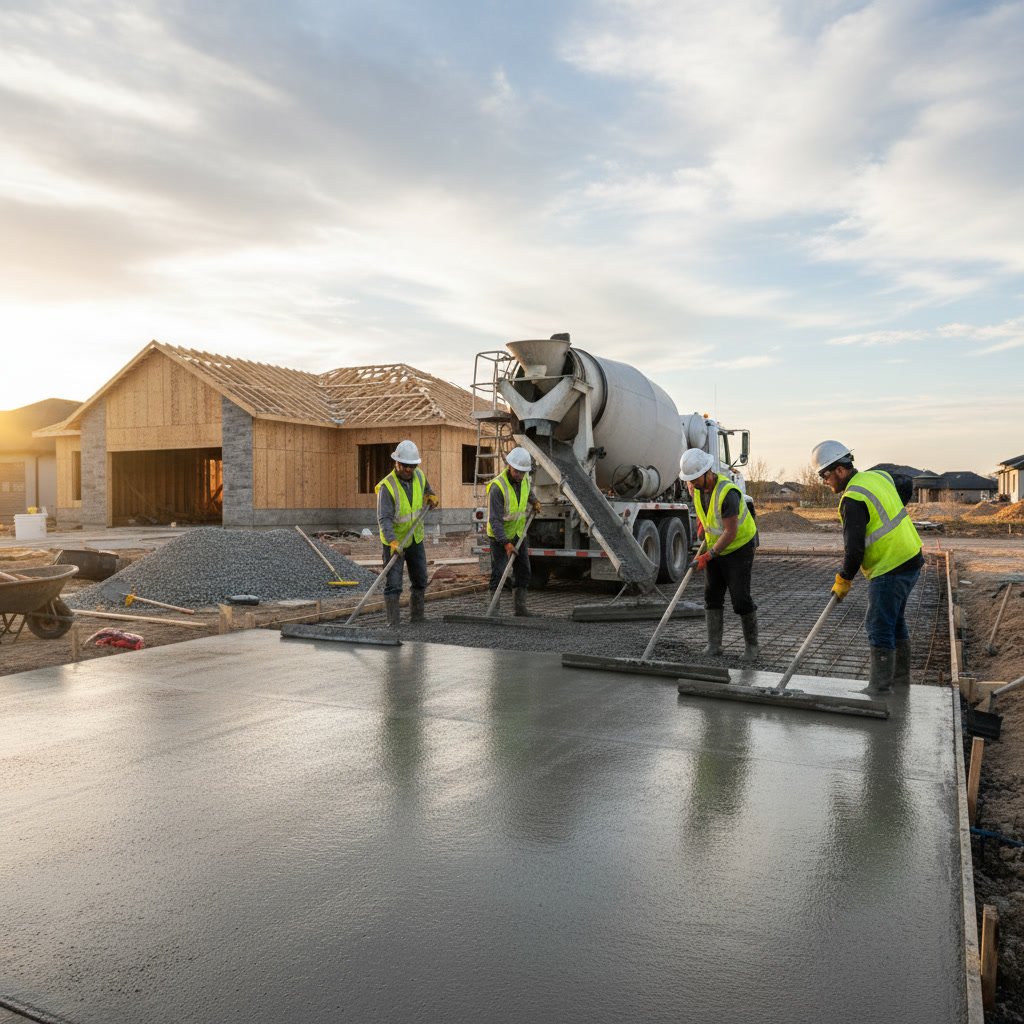
A professional concrete driveway installation follows a precise sequence of preparation, forming, pouring, and finishing steps that ensure long-lasting results. The process typically takes three to five days from site evaluation to final curing, with each phase critical to preventing future cracks and settling. Understanding the concrete driveway installation process helps you know what to expect and ensures your contractor completes every essential step.
Most homeowners replace their driveways every 25 to 30 years, making this a significant investment that deserves careful planning. The difference between a driveway that lasts decades and one that cracks within a few years often comes down to proper execution during installation.
Why Professional Planning Makes All the Difference
Before any equipment arrives at your property, experienced contractors conduct a thorough site evaluation. This assessment examines soil conditions, drainage patterns, existing grades, and access points for concrete trucks. Poor soil bearing capacity or inadequate drainage planning causes more driveway failures than any other factor.
The planning phase also determines the proper thickness for your specific needs. Standard residential driveways require four inches of concrete over a compacted base, but properties with heavy vehicles or challenging soil conditions may need six inches or more. STAMATELOS CONSTRUCTION evaluates these factors during the initial consultation to provide accurate specifications.
Proper planning also identifies where control joints should be placed to manage inevitable cracking. These joints create intentional weak points where concrete can crack in straight lines rather than random patterns across your driveway surface.
Site Preparation and Excavation
The first physical work involves removing existing pavement, vegetation, or soil to reach a stable subgrade. Excavation depth depends on your total driveway thickness, including both the concrete slab and the aggregate base beneath it. Most installations remove six to eight inches of material.
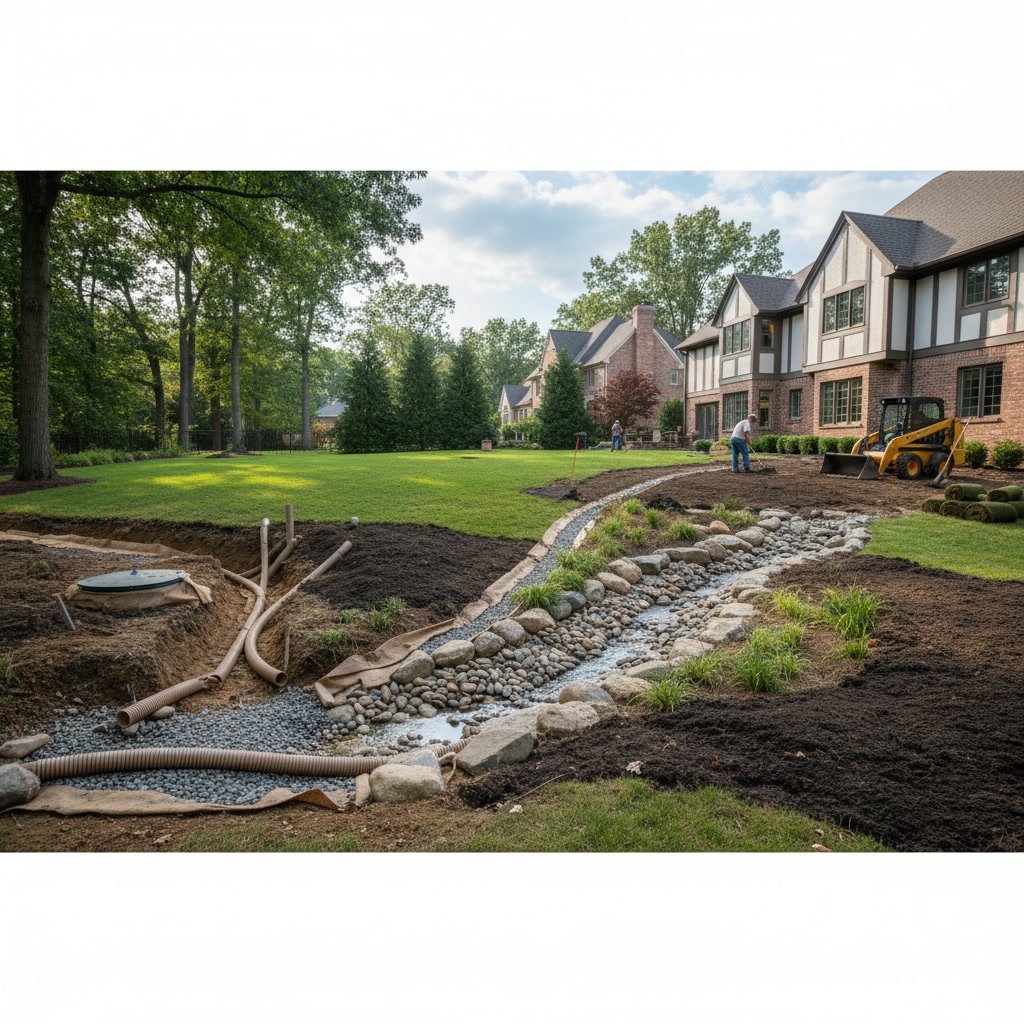
After excavation, contractors grade the subgrade to establish proper drainage away from structures. Even a subtle slope of one to two percent prevents water from pooling on your finished driveway. This step requires precision equipment and experience to achieve consistent grades across the entire surface.
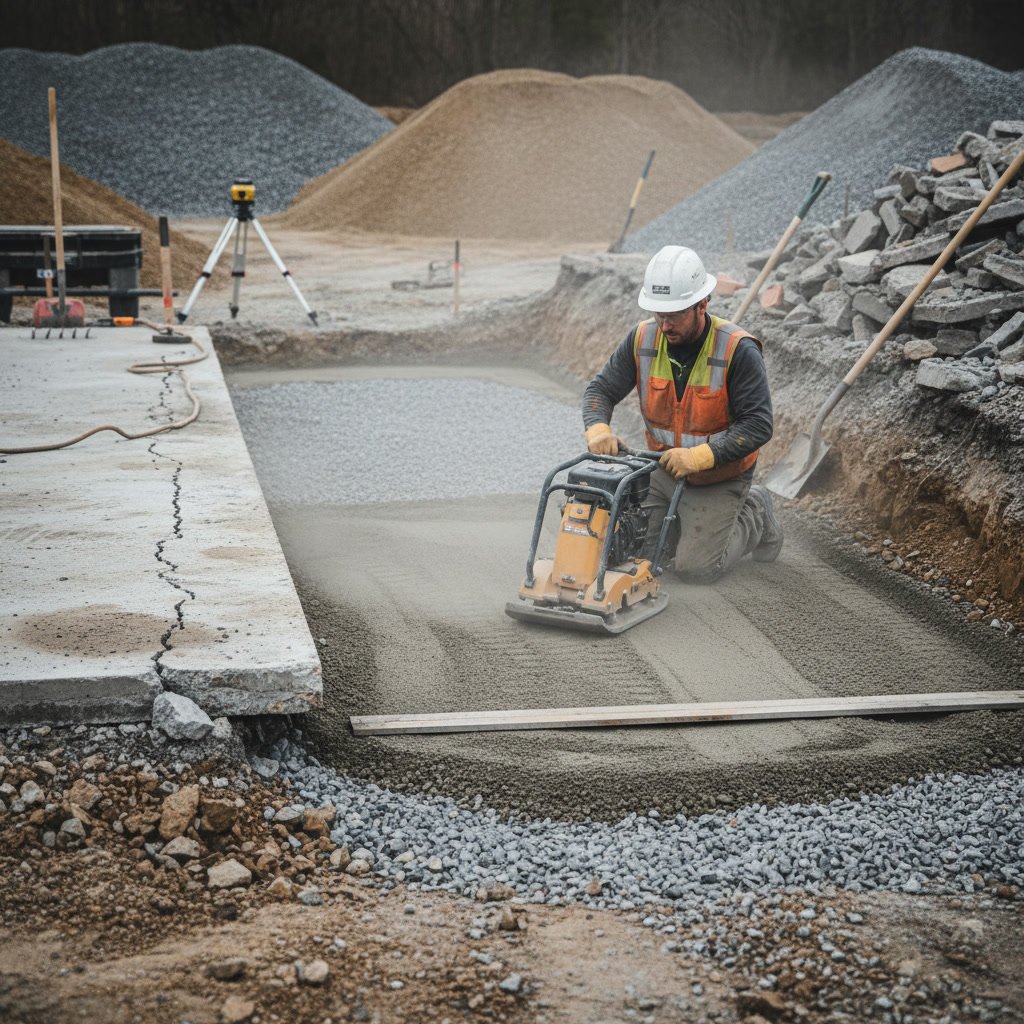
Soil compaction follows grading. Loose or soft soil beneath your driveway will settle over time, causing the concrete above to crack or sink. Professional crews use plate compactors or roller equipment to achieve 95 percent compaction, which provides a stable foundation that resists settlement.
Installing the Aggregate Base Layer
After compacting the subgrade, crews spread a layer of crushed stone or gravel, typically four to six inches thick. This aggregate base serves multiple purposes: it provides additional support, improves drainage beneath the slab, and helps prevent frost heave in cold climates.
The aggregate must be uniformly graded and free of organic material or clay that could retain moisture. Common base materials include crushed limestone, recycled concrete, or bank-run gravel. The choice depends on local soil conditions and availability.
Like the subgrade below it, this base layer requires thorough compaction. Contractors make multiple passes with compaction equipment and often wet the aggregate slightly to achieve maximum density. A properly compacted base feels solid underfoot and shows no visible movement when walked on.
Setting Forms and Grade Stakes
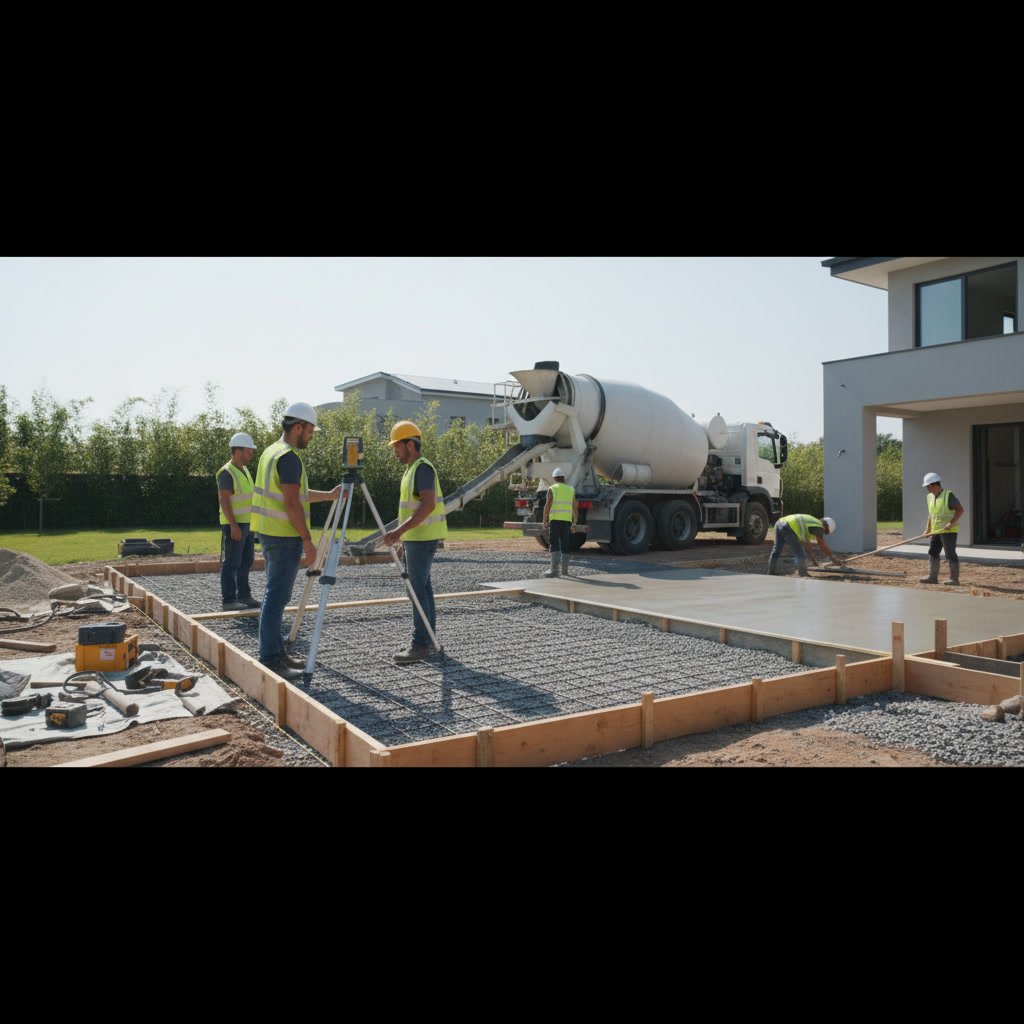
Wooden or metal forms define the edges of your driveway and hold the concrete in place during pouring. Setting these forms accurately determines your driveway’s final shape and elevation. Contractors use string lines, laser levels, and grade stakes to ensure forms sit at precisely the right height and slope.
Form boards must be straight, rigid, and securely staked every three to four feet. Any movement during the concrete pour creates uneven edges or incorrect thickness. Professional installers also coat wooden forms with release oil so they separate cleanly from the cured concrete.
This stage also includes installing any necessary reinforcement. Wire mesh or rebar grids add tensile strength to concrete, which naturally resists compression but can be weak in tension. For driveways, welded wire fabric placed in the middle third of the slab thickness provides adequate reinforcement for most residential applications.
The Concrete Pour in Shingle Springs
Concrete delivery trucks arrive on schedule with ready-mix concrete specified for your project. The mix design includes the correct ratio of cement, aggregate, water, and any admixtures that improve workability or curing characteristics. Standard driveway concrete has a compressive strength of 3,000 to 4,000 psi.
Crews position the concrete chute at various points along the forms, filling the area systematically to avoid cold joints where separate batches meet. Workers use rakes and shovels to spread concrete evenly, paying special attention to corners and edges where voids can form.
Timing matters during the pour. Concrete begins setting as soon as water contacts cement, so crews must place, spread, and finish the entire driveway before initial set occurs. This window typically lasts two to four hours depending on temperature and humidity, which is why concrete contractors schedule pours for optimal weather conditions.
Screeding and Initial Leveling
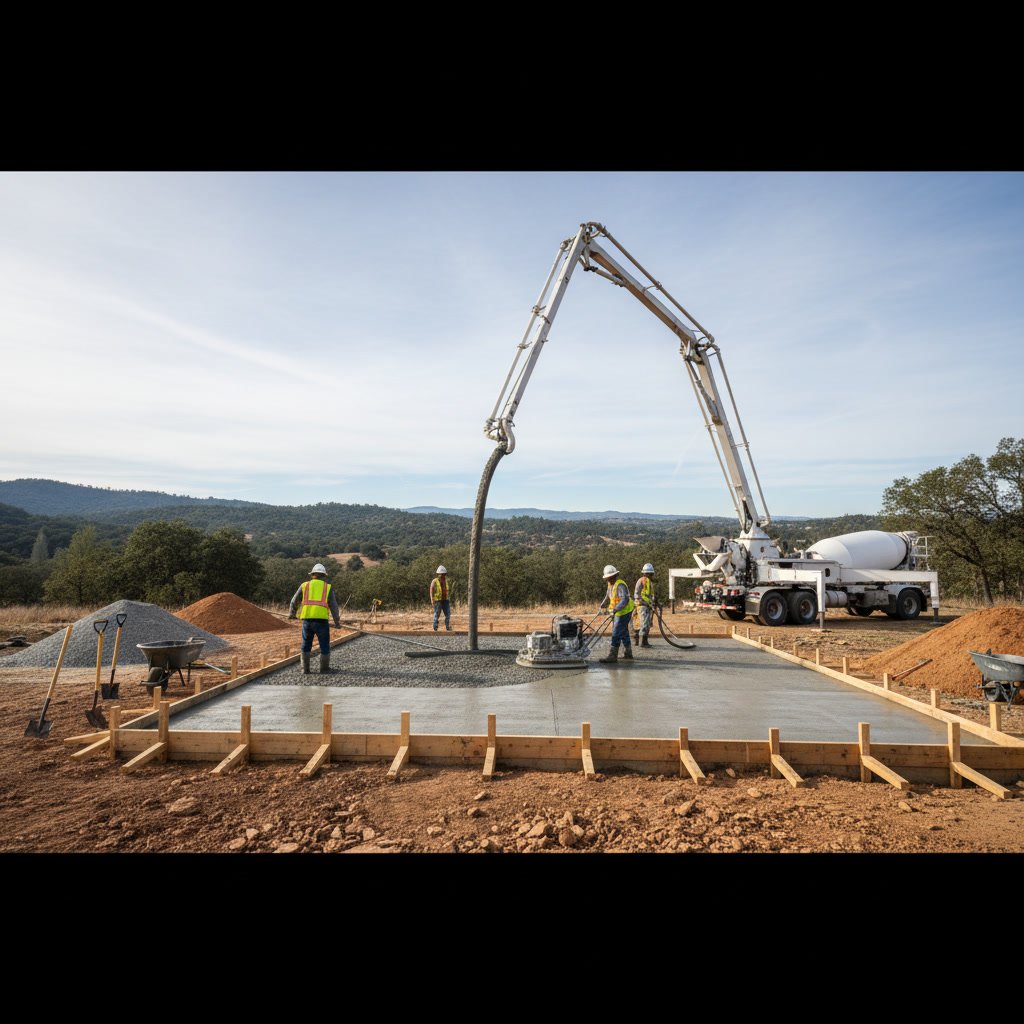
Immediately after placing concrete, workers use a screed board to strike off excess material and bring the surface to the correct elevation. The screed, typically a straight 2×4 or aluminum beam, rides along the top edges of the forms while workers move it back and forth in a sawing motion.
This process levels high spots and fills low areas, creating a uniform thickness across the slab. Proper screeding requires two experienced workers and multiple passes to achieve a flat, even surface ready for subsequent finishing steps.
Any reinforcing mesh or rebar must sit at the proper depth during this stage. Workers often use hooks to pull the reinforcement up to the middle of the slab thickness as concrete is placed, ensuring it provides maximum structural benefit.
Finishing Options for Your Driveway Surface
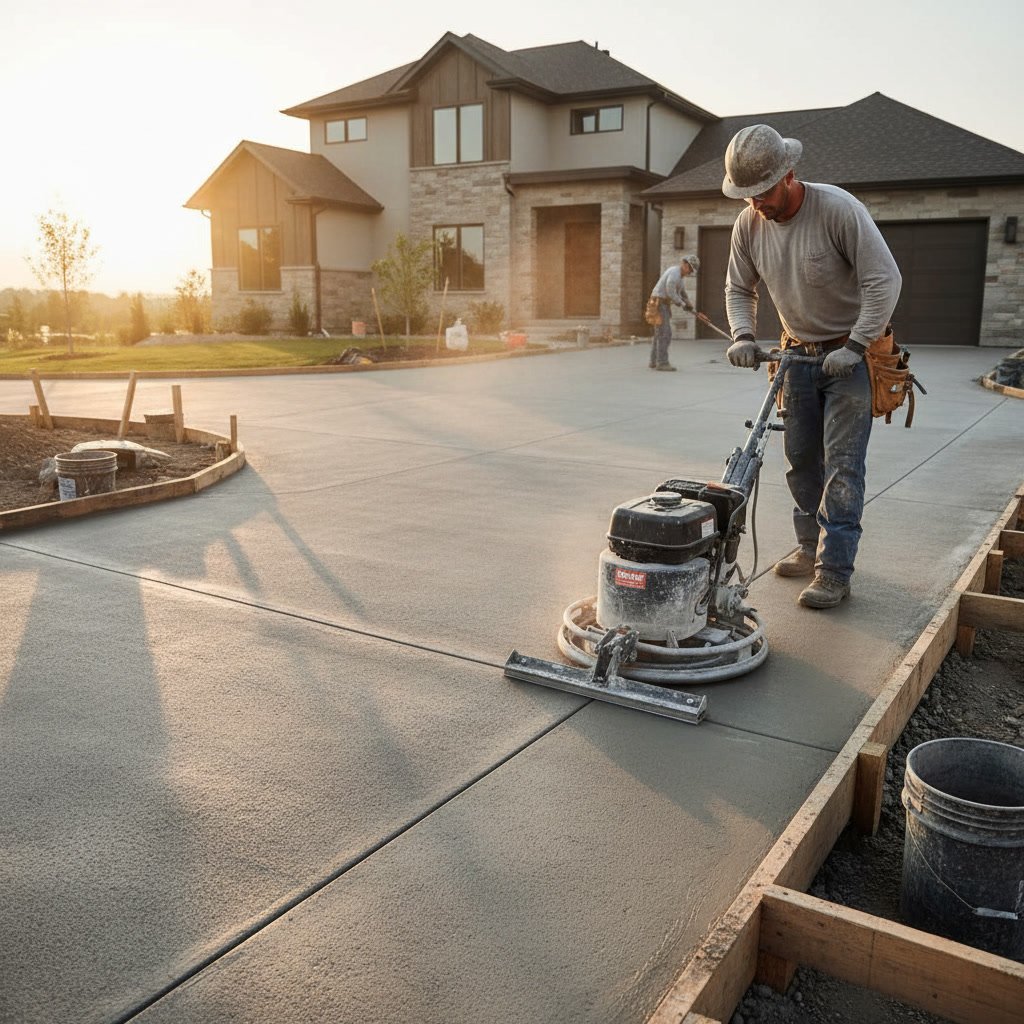
After screeding, the concrete surface receives one or more finishing treatments that affect both appearance and traction. The most common residential finish is the broom finish, created by dragging a stiff-bristled broom across the surface to create fine horizontal lines that provide excellent traction in wet conditions.
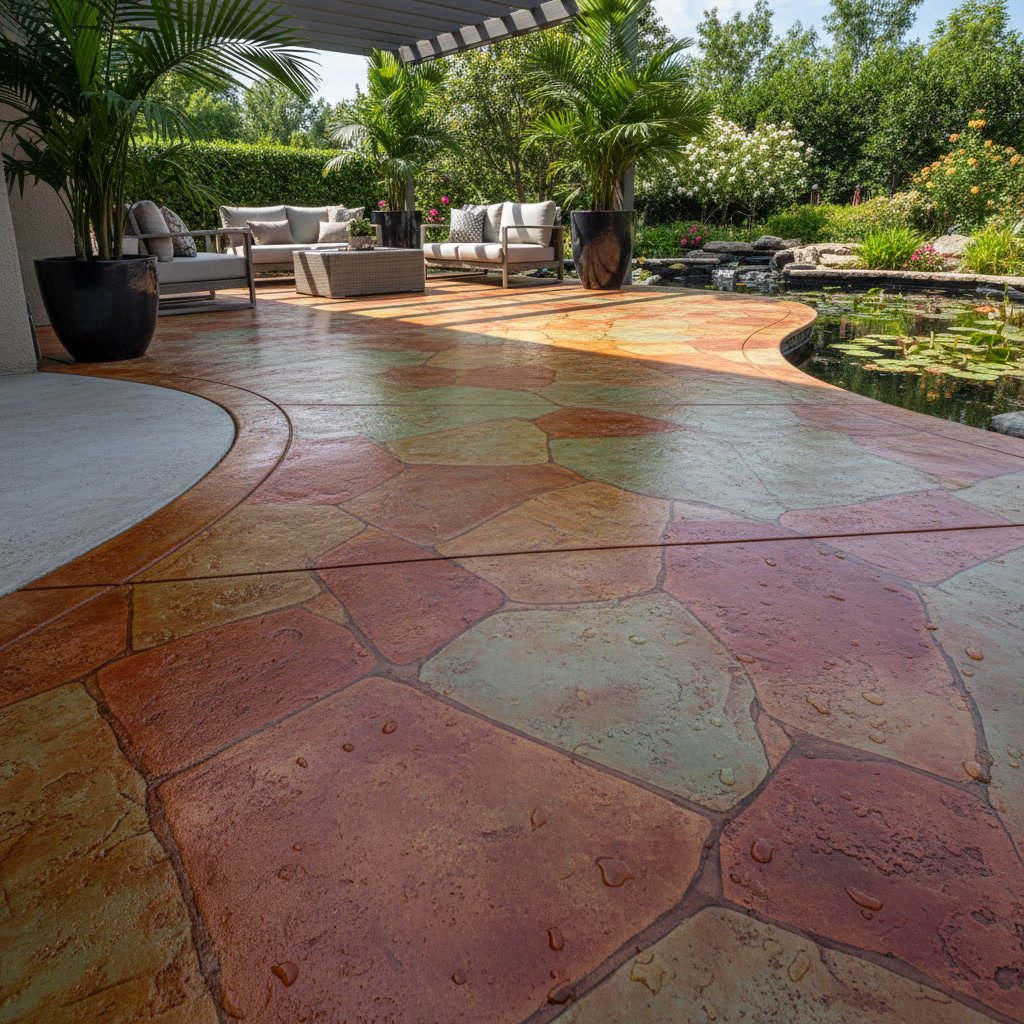
For homeowners seeking decorative options, stamped concrete replicates the appearance of brick, stone, or tile at a fraction of the cost. Contractors press textured mats into the concrete surface before it fully hardens, creating realistic patterns and joint lines. Color hardeners and release agents add depth and dimension to the finished appearance.
Smooth trowel finishes are less common for driveways because they become slippery when wet, though they work well for pool decks and patios where different surface needs apply. The choice between finishing styles affects both aesthetics and long-term maintenance requirements.
Creating Control Joints
Control joints are intentional lines cut or tooled into the concrete surface to control where cracks occur. Concrete naturally shrinks as it cures and expands with temperature changes. Rather than allowing random cracks to form, control joints create weak points where the slab can crack in predetermined locations.
For driveways, contractors typically space control joints every eight to ten feet in both directions, creating a grid pattern of roughly square sections. Joints should be cut to a depth of one-quarter the slab thickness within 12 to 24 hours after pouring, using either a groover tool during finishing or a concrete saw after initial curing.
Proper joint placement considers the driveway’s width, length, and any intersecting elements like walkways or aprons. This often overlooked step significantly reduces the likelihood of unsightly random cracking, as explained in our guide addressing why concrete driveways crack and how to fix them.
Curing and Protection
Concrete gains strength through a chemical process called hydration that requires adequate moisture and favorable temperatures. Proper curing maintains these conditions for at least seven days, allowing the concrete to reach its design strength.
Immediately after finishing, contractors apply a curing compound that seals the surface and slows moisture evaporation. Alternatively, they may cover the slab with plastic sheeting or keep it continuously wet with periodic spraying. In hot weather, curing becomes even more critical because rapid moisture loss can cause surface crazing or reduced strength.
During the curing period, you must keep all traffic off the new concrete. While the surface may feel hard after 24 hours, internal curing continues for weeks. Most contractors recommend waiting at least seven days before driving on a new driveway, though full strength develops over 28 days.
Removing Forms and Final Cleanup
After the concrete reaches sufficient strength, usually within 24 to 48 hours, workers remove the edge forms and perform final cleanup. This reveals the finished edges of your driveway, which may require minor touch-up work to address small chips or voids.
Contractors backfill along the edges with soil or stone to provide lateral support and prevent edge cracking. Proper edge support is particularly important for driveways because vehicle tires load the outer edges more heavily than the center.
The final cleanup includes removing any concrete splatter from adjacent surfaces, disposing of waste materials, and restoring disturbed landscaping areas. Professional crews also review the installation with you, providing care instructions and answering questions about long-term maintenance.
Setting Your Project Up for Decades of Performance
A properly installed concrete driveway provides 25 to 30 years of service with minimal maintenance. The key factors that determine longevity are thorough site preparation, adequate thickness for your loads, proper reinforcement placement, and careful finishing and curing.
Choosing an experienced contractor ensures every step receives proper attention. Cutting corners during excavation, base preparation, or curing saves a few dollars initially but often leads to expensive repairs within a few years. Quality concrete work requires specialized knowledge and equipment that only established professionals possess.
STAMATELOS CONSTRUCTION has completed hundreds of driveway installations since 1990, serving homeowners throughout El Dorado County with the expertise and attention to detail that ensures lasting results. Our family-operated team brings multiple skilled trades under one roof, coordinating every aspect of your project from initial excavation through final finishing.
If you are ready to replace your existing driveway or install a new one, contact our team to schedule a site evaluation. We will assess your specific conditions, recommend the best approach for your property, and provide a detailed timeline and estimate. Call +19163055310 to discuss your driveway project with our experienced professionals.