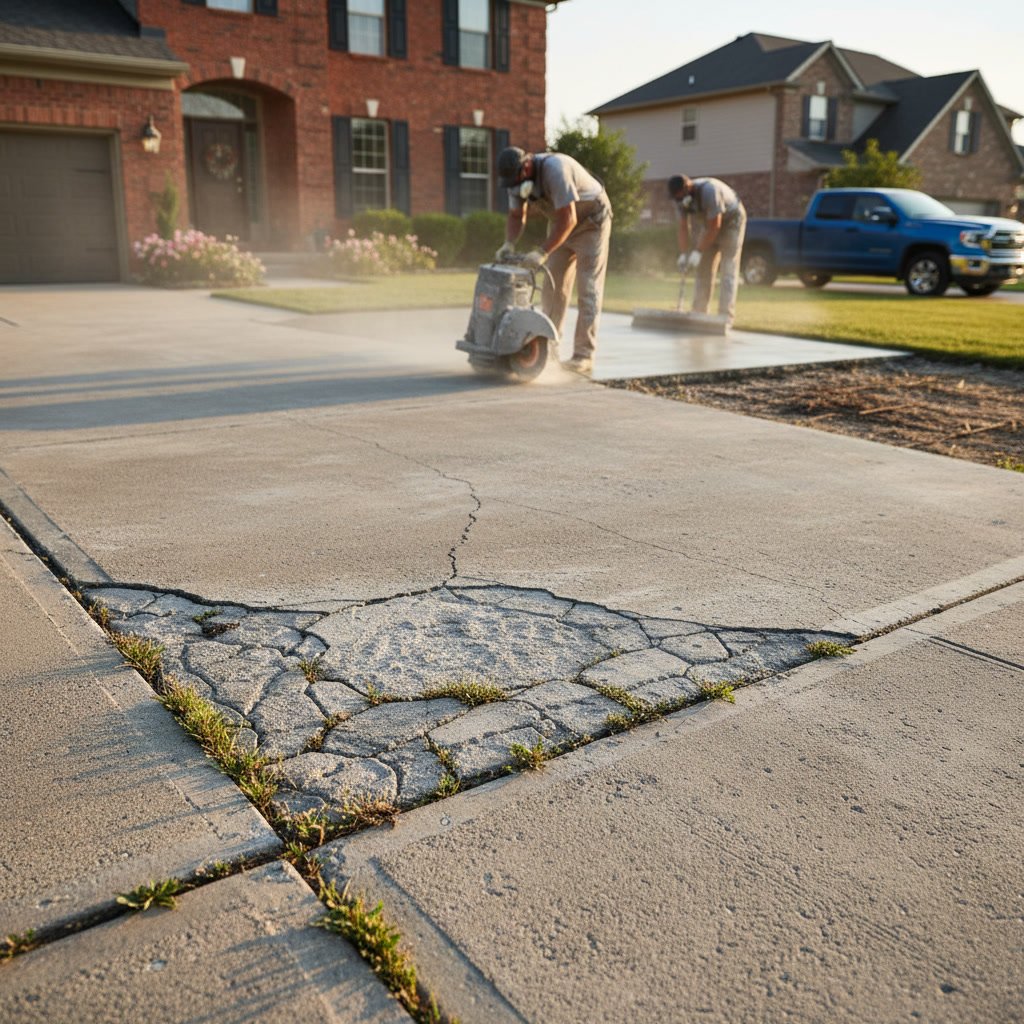
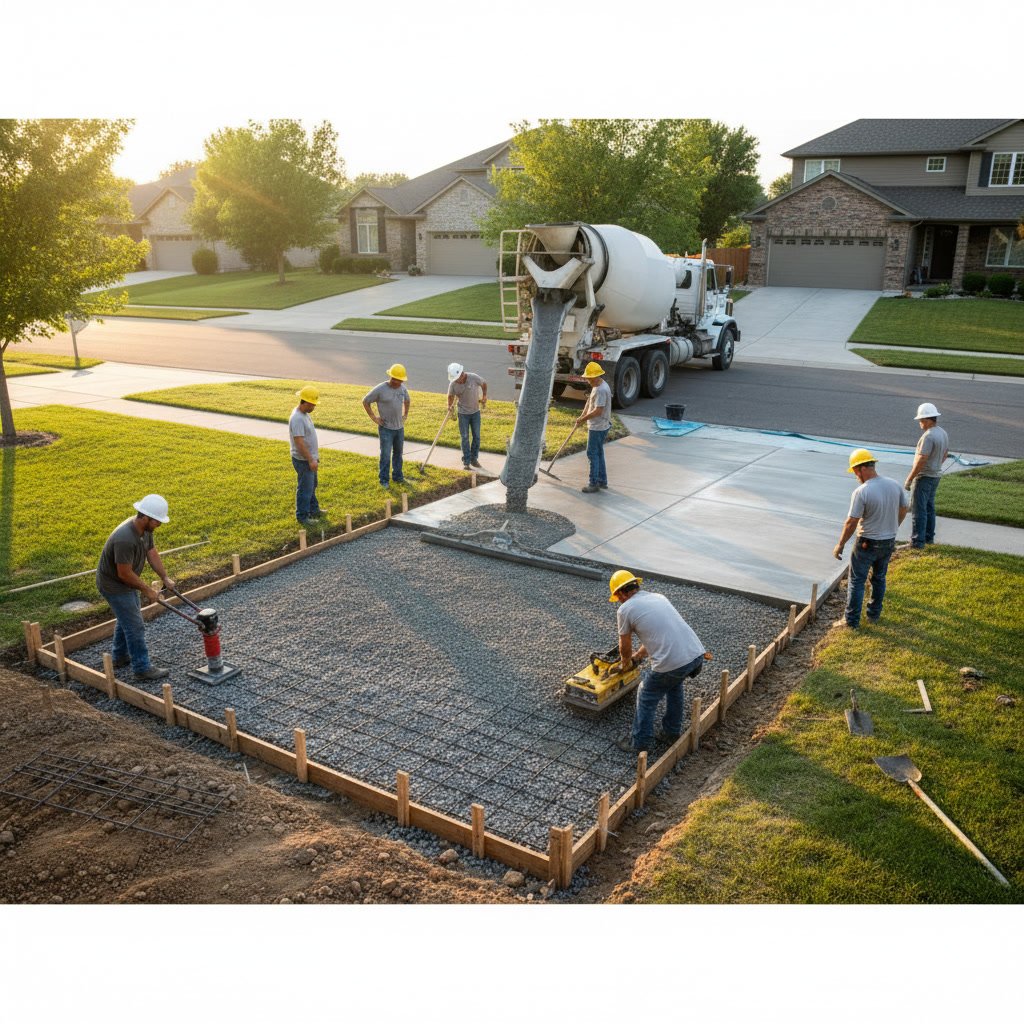
A professional concrete driveway installation follows a precise sequence of steps designed to create a durable, long-lasting surface that can withstand decades of vehicle traffic and weather exposure. The process typically takes three to five days from excavation to final cure, depending on site conditions and driveway size. Each phase builds on the previous one, and skipping or rushing any step compromises the entire project. Proper installation prevents common problems like cracking, settling, and premature wear.
Why Professional Installation Matters for Your Driveway
The difference between a driveway that lasts 10 years and one that serves you well for 30 or more comes down to installation quality. Concrete may look simple, but it requires precise water-to-cement ratios, proper reinforcement placement, correct base preparation, and skilled finishing techniques. Temperature, humidity, and timing all play critical roles in the final product.
Experienced contractors understand local soil conditions and climate patterns that affect how concrete performs. In areas with expansive clay soils or seasonal freeze-thaw cycles, specialized techniques prevent movement and cracking. A professional crew brings the equipment, materials knowledge, and coordinated workflow that DIY attempts simply cannot match.
Understanding the Timeline and Planning Phase
Before any physical work begins, thorough planning sets the foundation for success. The contractor evaluates your property’s slope, drainage patterns, soil type, and existing utilities. They measure the area precisely and calculate the volume of concrete needed, typically ordering slightly more than the mathematical minimum to account for variations in grade and thickness.
Permits and inspections may be required depending on local regulations. Your contractor schedules these in advance to avoid delays. They also coordinate delivery timing with the concrete plant, because once a truck arrives, the crew must place and finish the entire load within a narrow time window before the material begins to set.
Step One: Site Preparation and Excavation
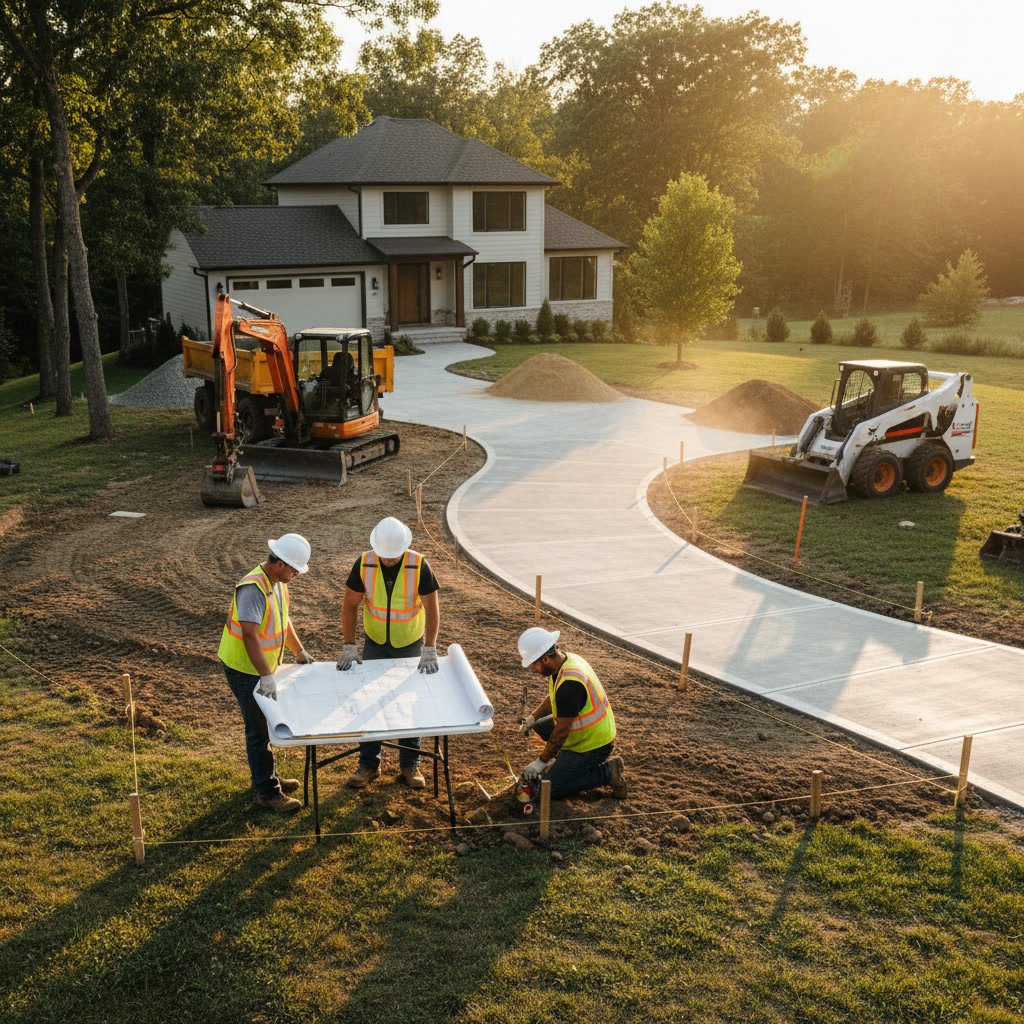
The crew begins by marking the driveway boundaries with spray paint or stakes and string. Excavation removes the top layer of soil, typically digging down eight to 12 inches below the final driveway surface. This depth accommodates the base material and the concrete slab itself, which usually measures four inches thick for residential driveways or six inches for areas supporting heavy vehicles.
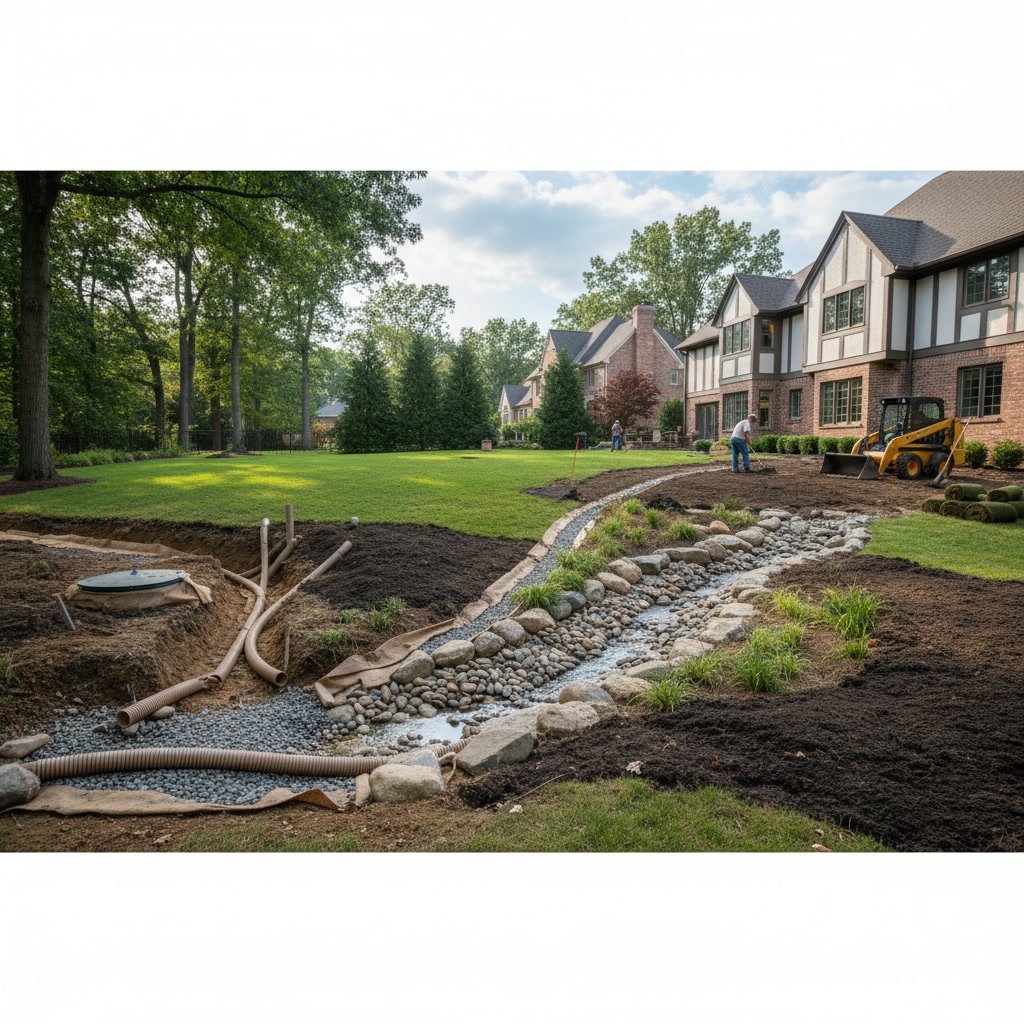
Proper excavation creates a uniform depth across the entire area. The crew uses a laser level or transit to verify grade, ensuring the driveway slopes away from structures at a minimum rate of one-quarter inch per foot for drainage. Any soft spots or organic material gets removed and replaced with compactable fill.
Step Two: Installing the Aggregate Base
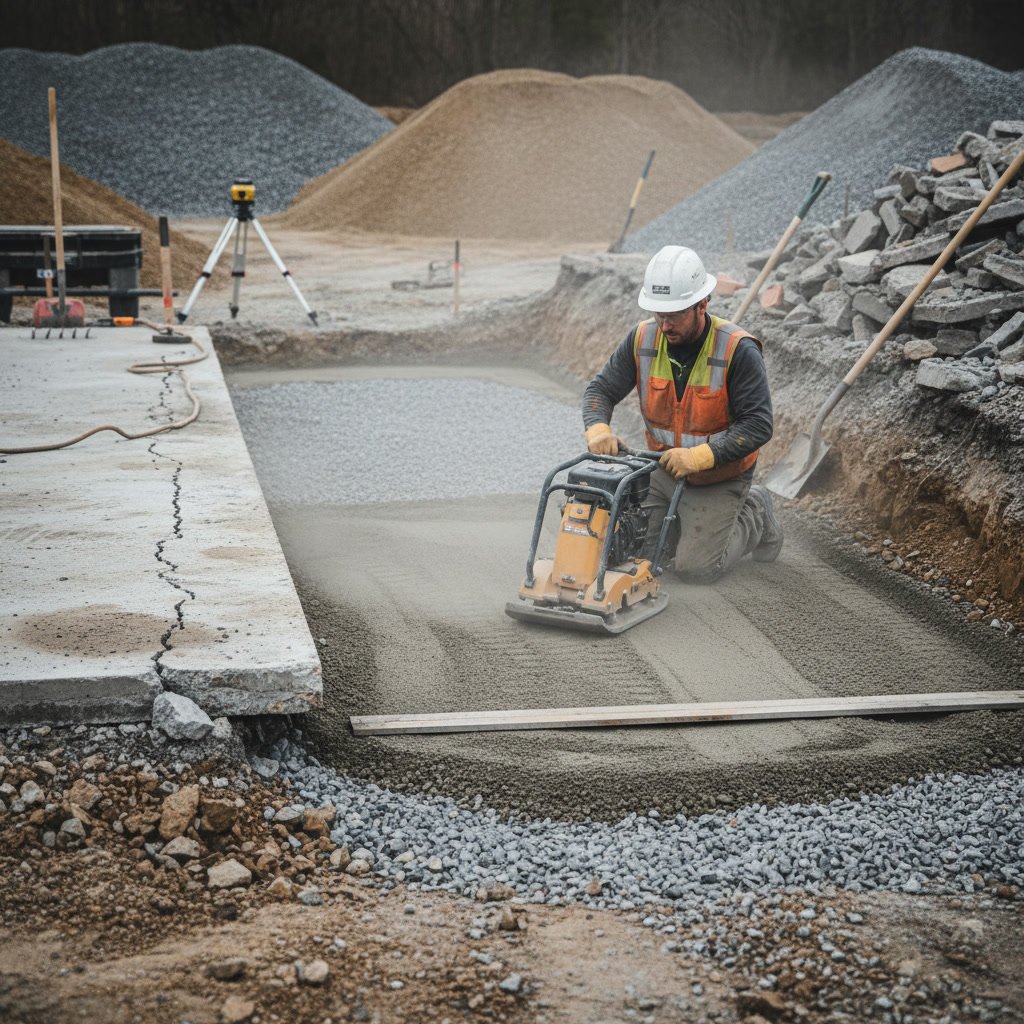
A four to six inch layer of crushed stone or gravel creates a stable, well-draining foundation. This aggregate base serves multiple purposes: it provides uniform support, prevents moisture from wicking up into the concrete, and allows for slight ground movement without transferring stress to the slab above.
The crew spreads the aggregate evenly and compacts it in two-inch lifts using a plate compactor or roller. Proper compaction is critical. Loose base material will settle over time, creating voids beneath the concrete that lead to cracking and failure. Professional crews verify compaction by walking the surface and checking for any give or movement.
Step Three: Building Forms and Setting Grade in Shingle Springs
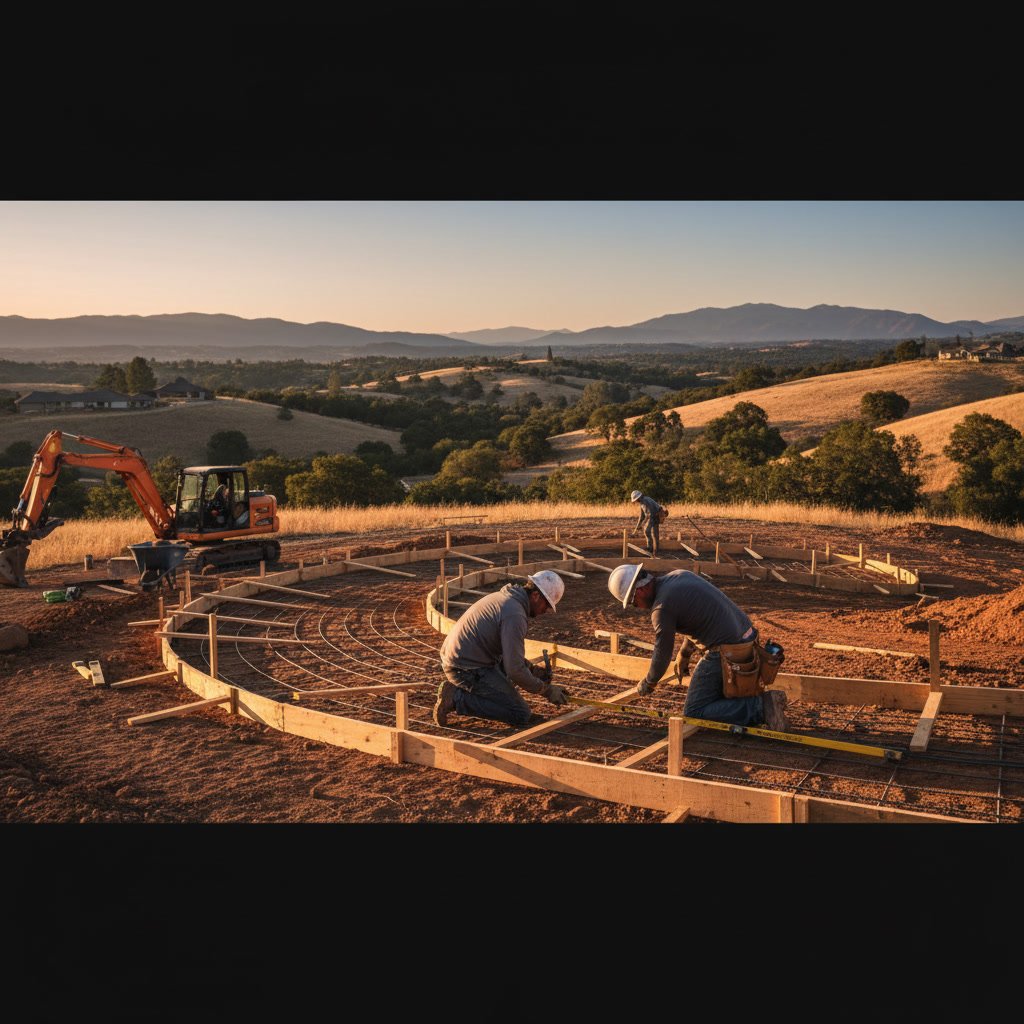
Wooden or metal forms define the driveway edges and hold the concrete in place while it cures. The crew stakes these forms securely, because thousands of pounds of wet concrete will push against them. Forms must be straight, level to each other along their tops, and set to the exact final height of the driveway surface.
Setting proper grade at this stage determines how well your driveway sheds water for its entire lifespan. Forms also create clean, professional edges that frame the finished surface. In Shingle Springs and surrounding areas, experienced contractors account for the region’s seasonal rainfall patterns when establishing drainage slopes.
Step Four: Installing Reinforcement and Control Joints
Steel reinforcement adds tensile strength to concrete, which naturally resists compression but cracks easily under tension. Rebar grids or welded wire mesh sits on small plastic or metal chairs that hold it at mid-depth within the slab, not on the base. Reinforcement placed too low or too high loses effectiveness.
The crew also plans control joint locations at this stage. These intentional weak points encourage concrete to crack in straight lines at predetermined locations rather than randomly across the surface. Control joints typically divide the driveway into sections no more than 10 feet in any direction. This strategic approach to managing inevitable shrinkage cracking is part of what separates professional concrete work from amateur attempts.
Step Five: Pouring and Placing the Concrete
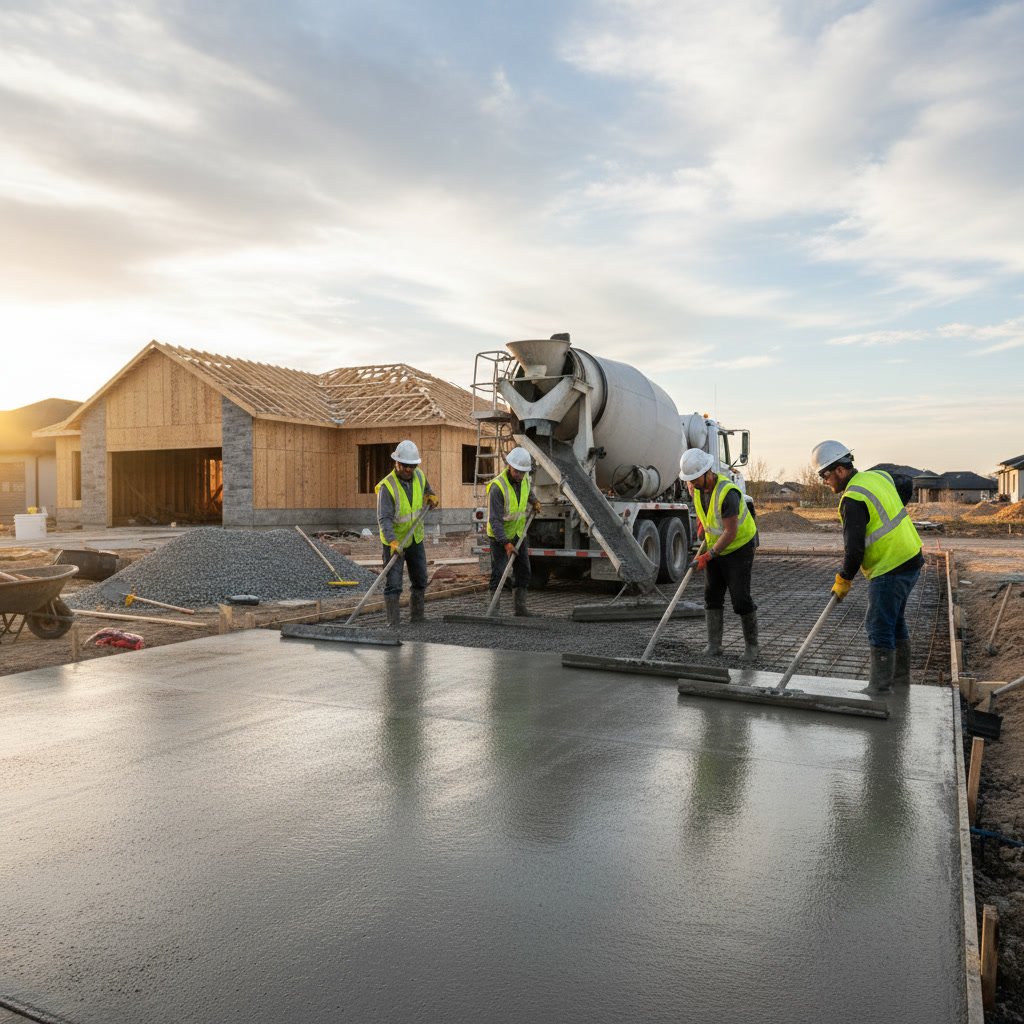
The concrete truck arrives with a precisely mixed load specified for driveway applications. The driver adds no extra water, because even small increases in water content dramatically reduce concrete strength and durability. The crew directs the chute to place concrete evenly across the forms, starting at the back and working forward.
Workers use rakes and shovels to distribute the material into corners and against forms, eliminating voids. They slightly overfill the forms, because the next steps will compact and level the surface. Speed matters during this phase. A typical residential driveway requires one to three truckloads, and the crew must place all of it before the first load begins to set.
Step Six: Screeding and Initial Leveling
Screeding levels the concrete to match the top of the forms. Two workers drag a straight board, called a screed, across the wet surface using a sawing motion. This removes excess material and fills low spots, creating a flat plane. On wider driveways, the crew may set temporary screed rails down the center to support the screed board.
Proper screeding requires skill and stamina. The workers must move steadily to keep pace with the concrete’s setting time while maintaining consistent pressure and motion. Multiple passes ensure complete leveling. Any humps or valleys left at this stage will remain visible in the finished driveway.
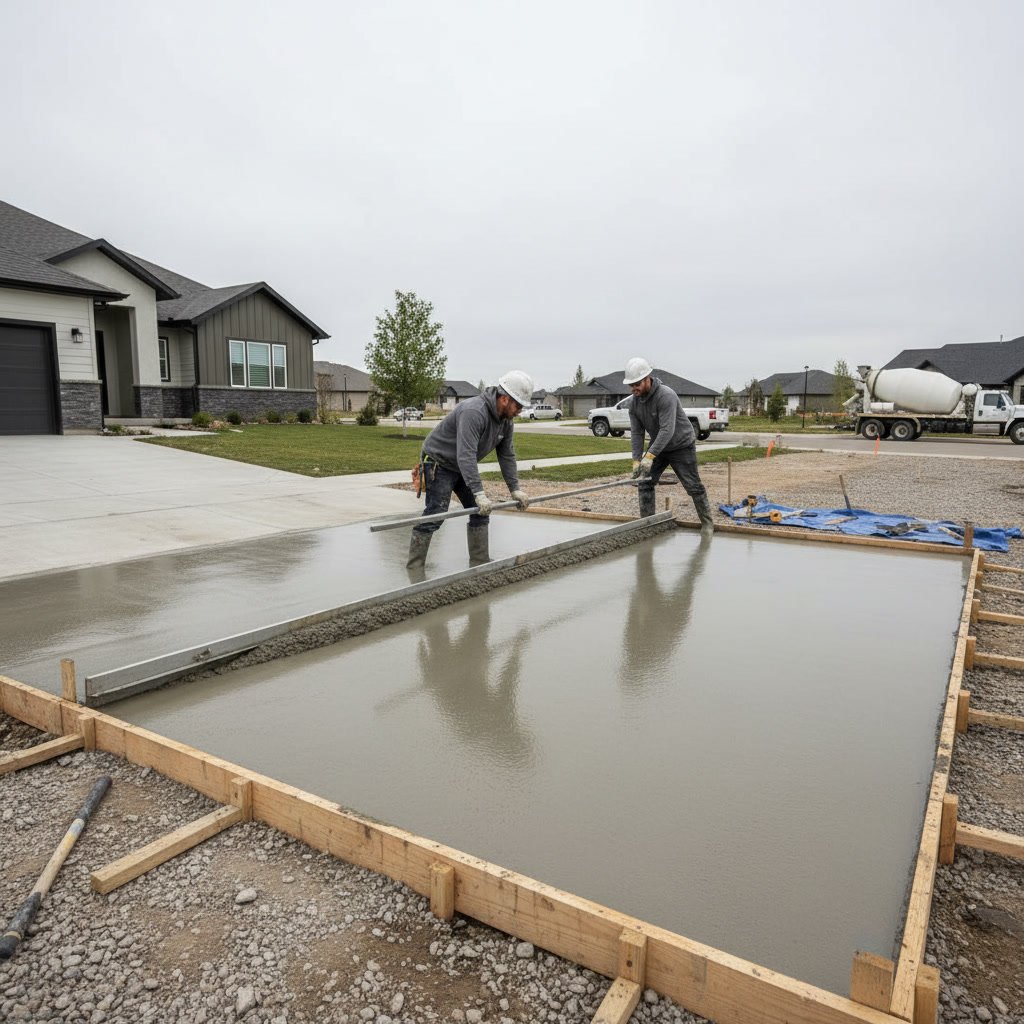
Step Seven: Floating and Surface Finishing
After screeding, workers use large floats to smooth the surface further and push down aggregate just below the surface. Bull floats, which are long-handled tools with flat rectangular heads, cover large areas efficiently. This step brings a thin layer of cement paste to the top, creating the workable surface needed for final finishing.
The crew watches the concrete carefully, waiting for bleed water to evaporate before applying the final finish. Working the surface while water is still present traps moisture and weakens the top layer. Depending on the chosen finish, the crew applies either a broom finish for texture and traction, a smooth troweled surface, or prepares the slab for stamp concrete patterns and textures.
Step Eight: Cutting Control Joints and Edging
Within hours after finishing, while the concrete remains workable, the crew cuts control joints to the planned depth using a groover tool or waits until the next day to saw them with a diamond blade. Joints must reach at least one-quarter of the slab depth to function properly. Shallow joints fail to control cracking, while joints cut too late may allow random cracks to form first.
Edge tools round over the driveway perimeter where it meets the forms, creating a finished appearance and preventing chipping. These details separate professional installations from amateur work. The same attention to detail that creates beautiful custom walkways applies to driveway construction.
Step Nine: Curing and Protection
Proper curing is the most overlooked and most critical step in the entire process. Concrete gains strength through a chemical reaction that requires moisture and time. If the surface dries too quickly, the concrete never reaches its potential strength and remains permanently weakened.
Professional contractors apply curing compound, a liquid membrane that seals the surface, or cover the driveway with plastic sheeting or wet burlap. They may also spray the surface with water several times daily for the first week. This extended curing period allows the concrete to reach approximately 70% of its ultimate strength in seven days and continues gaining strength for weeks beyond. Understanding why concrete driveways crack helps explain why proper curing cannot be skipped or rushed.
Protecting Your Investment for Decades
A professionally installed concrete driveway represents a significant investment in your property. The step-by-step process outlined above creates a surface engineered to handle daily use, weather extremes, and the test of time. Each phase depends on the quality of the previous work, which is why attempting to cut corners or skip steps inevitably leads to problems.
The difference between adequate and exceptional results comes down to experience, proper equipment, and unwavering attention to detail at every stage. When evaluating contractors, ask about their base preparation methods, reinforcement practices, and curing procedures. These technical details reveal far more about quality than price alone.
Since 1990, STAMATELOS CONSTRUCTION has delivered precision concrete installations throughout Cameron Park and the surrounding region. Our family team brings decades of combined experience to every project, from initial excavation through final curing. Whether you need a new driveway, concrete pool decks, or restoration of existing surfaces, our specialized knowledge ensures results that last. Reach out to STAMATELOS CONSTRUCTION at +19163055310 to discuss your project and receive a detailed consultation on the installation process specific to your property.